Considering that you have created VIOSERVER profile to move ahead for installation. There are many methodologies available to install VIOSERVER such that NIM, you can boot it from alt disk copy and CD through installation. We will be demonstrating here VIOSERVER installation through CD. Keep in mind your profile should be created by selecting VIOSERVER option else installation will not get through.
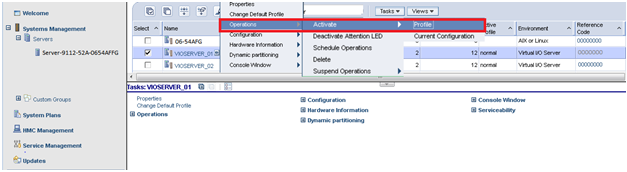
Login HMC with hscroot authority and select your server serial number on right hand side you could see newly created VIOSERVER profiles, (You could see environment column there itself partition environment shown as Virtual I/O Server)
STEP 1:- Select VIOSERVER on HMC right side pane and click Operations –>Activate–>Profile
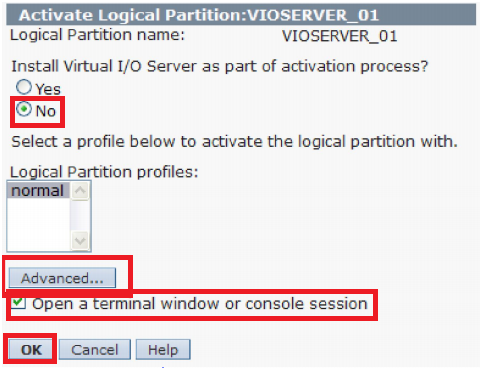
STEP 2:- Select advanced option to go to SMS mode and check the open terminal window to open a session then click OK (Always check there could be a possibility of multiple logical partition profile)
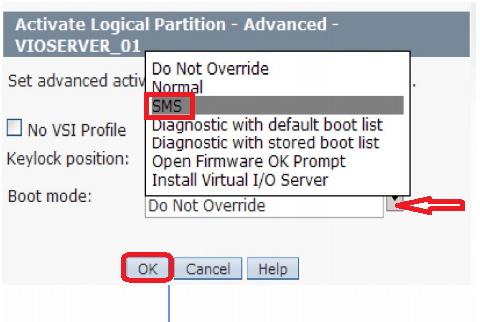
STEP 3:- After selecting advanced option on the above screen and select boot mode as SMS and click OK
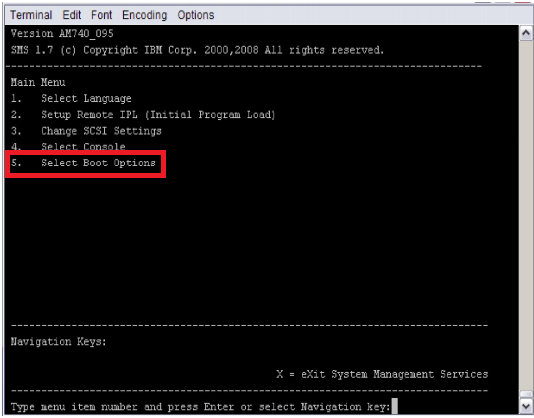
STEP 4:- Select the option 5 to proceed the installation to chose the boot option
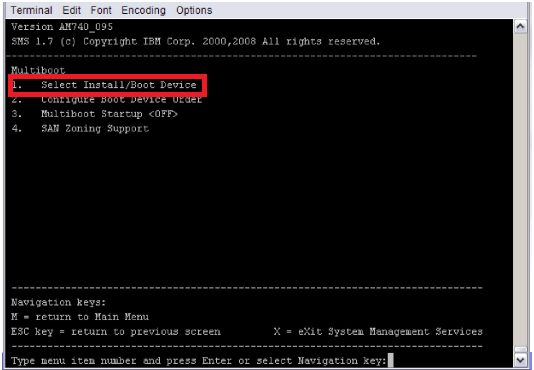
SETP 5:- Select option 1 to proceed with installation boot device
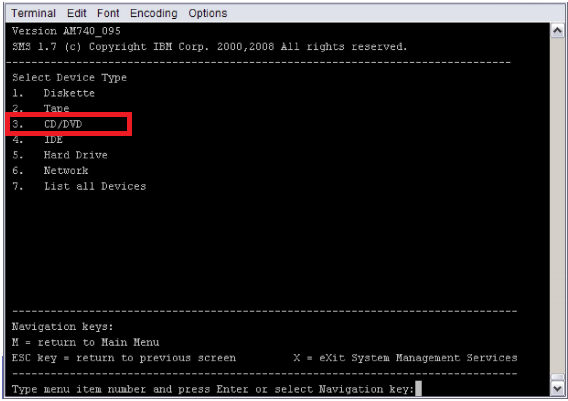
STEP 6:- Select option 3 to proceed to boot from CD/DVD ROM
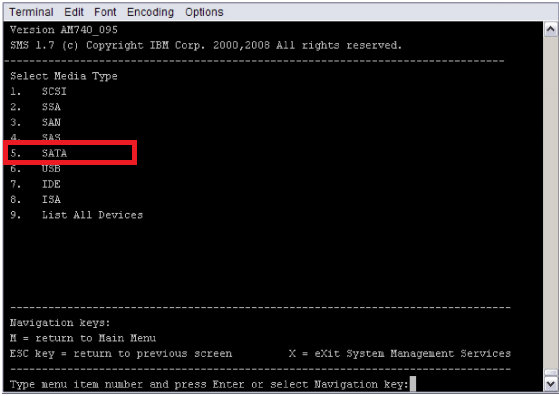
STEP 7:- Select option 5 to proceed to boot from SATA CD/DVD ROM
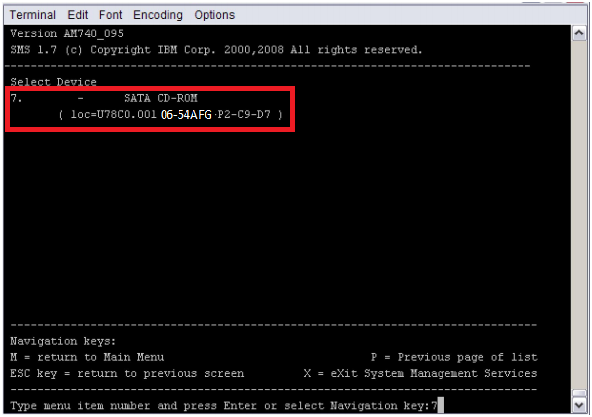
STEP 8:- Type the number appears for CD/DVD ROM to boot from it (in our case we have to chose 7)
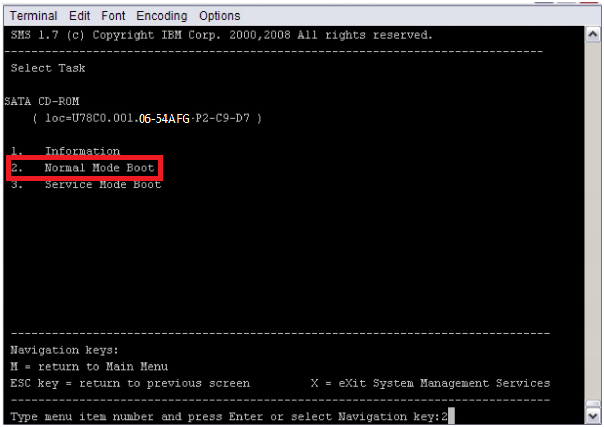
STEP 9 :- Select 2 for normal boot mode and press enter.
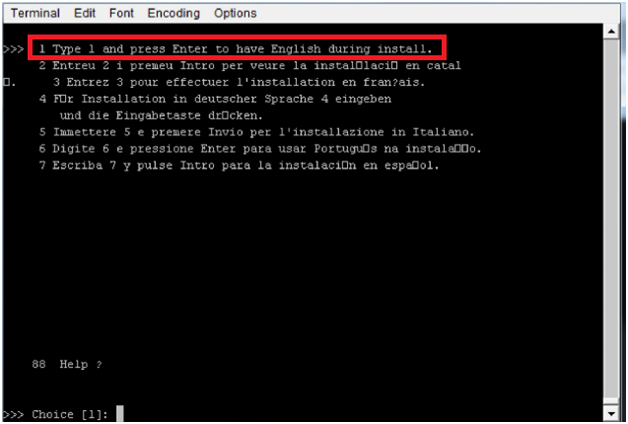
STEP 10:- Select option 1 to proceed the installation on language ENGLISH
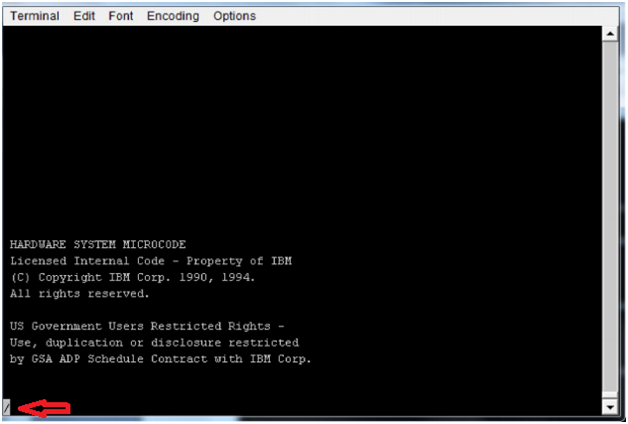
STEP 11:- The below screen will be displayed once language selected (This will take some time)
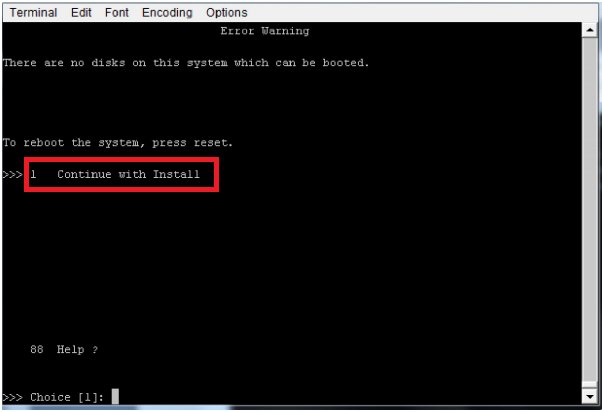
STEP 12:- Enter choice 1 to continue with VIOSERVER installation
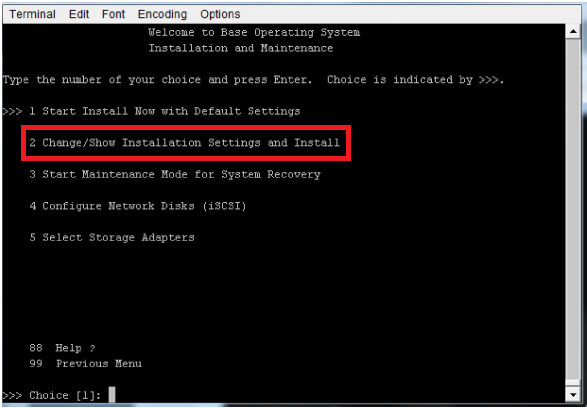
STEP 13:- Enter choice 2 to verify the options of installations or if you knew that all the setting are perfect select option 1 to proceed with default settings.
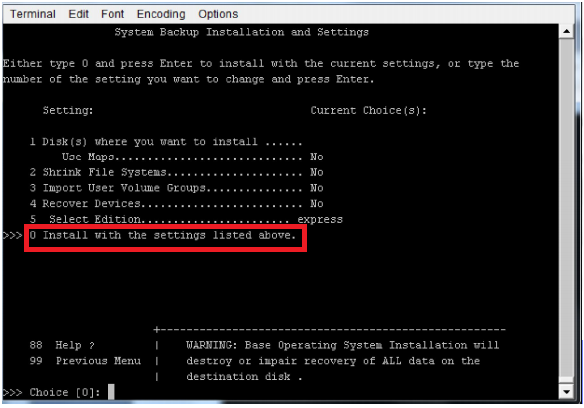
STEP 14:- After validation enter choice 0 to install with default installation options
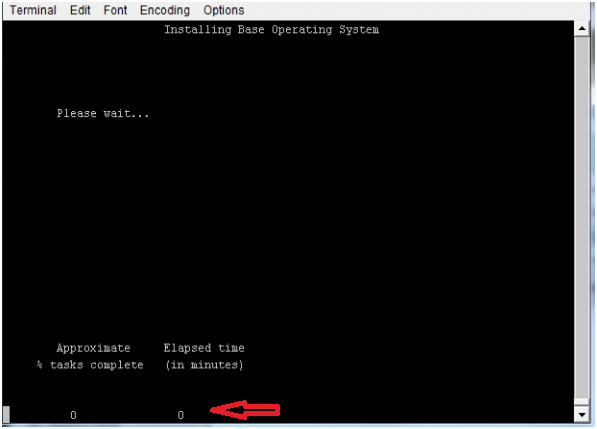
STEP 15:- Once installation started no need to give any input or interrupt
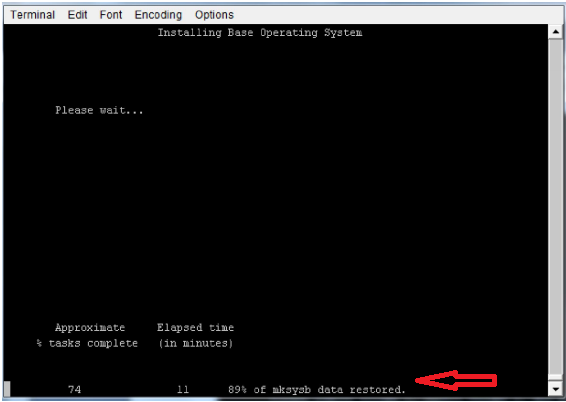
STEP 16:- Installation still in progress
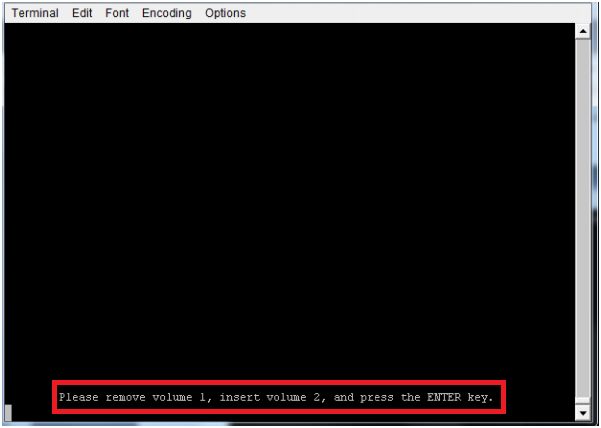
STEP 17:- After 1st DVD image copied , installation console will be shown as below insert 2 DVD and press enter
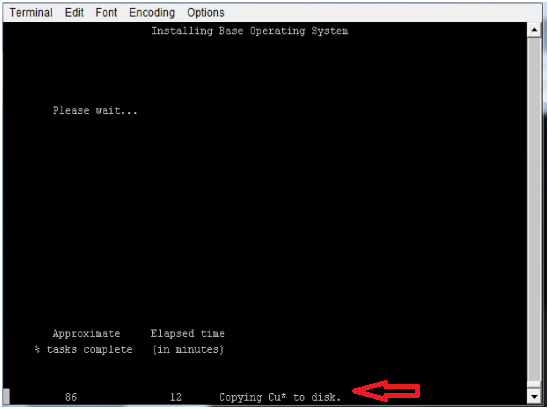
STEP 18:- Copying customized device configurations to disk
STEP 19:- Initializing dump device from RAMFS
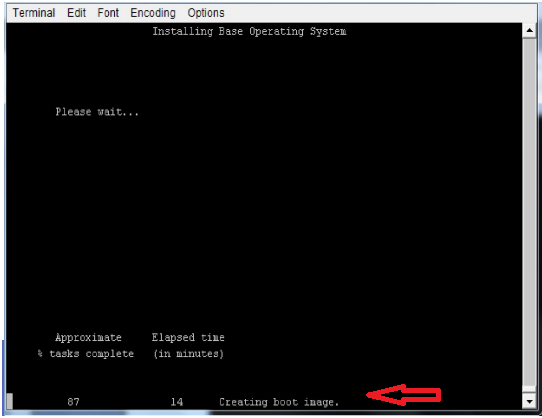
STEP 20:- Creating image. data instance

STEP 21:- Installation completed successfully after that system automatically rebootsEP
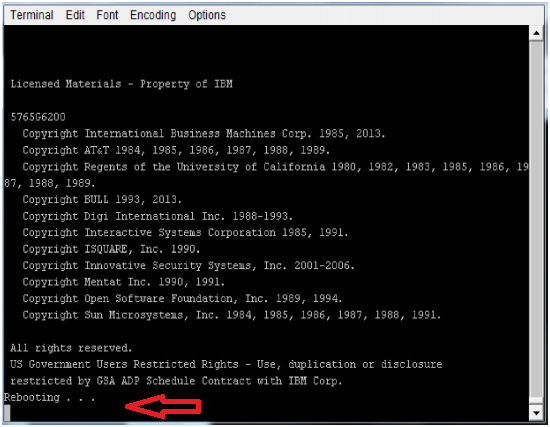
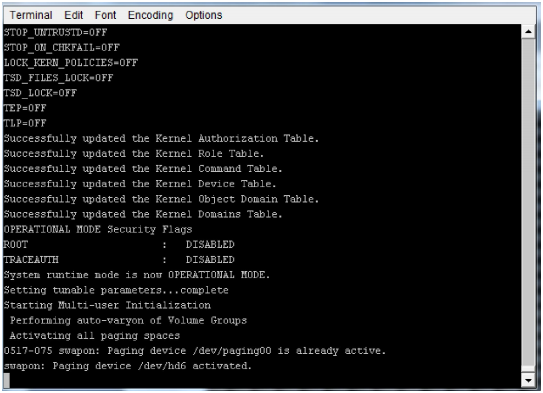
STEP 22:- VIOS booting still in progress, you could see this logs in console
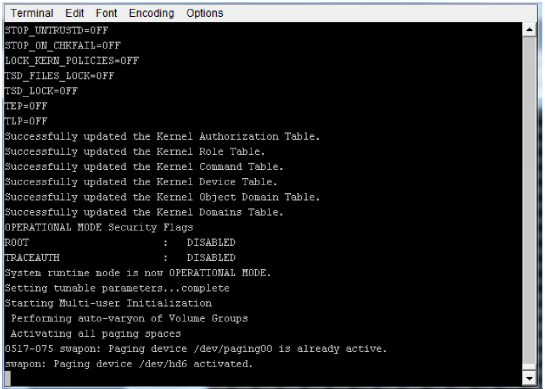
STEP 23:- VIOS booting still in progress, you could see this logs in console
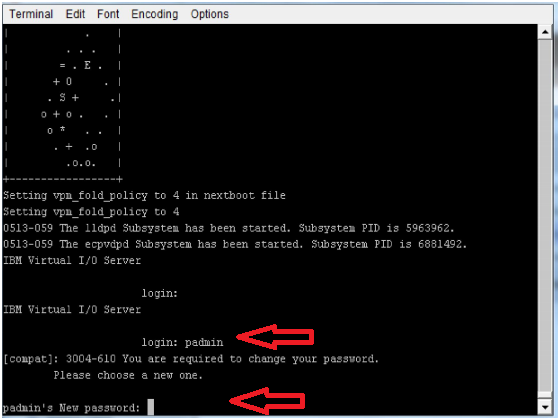
STEP 24:- Once VIOSERVER rebooted we have to change default padmin password , by default console will prompt as below
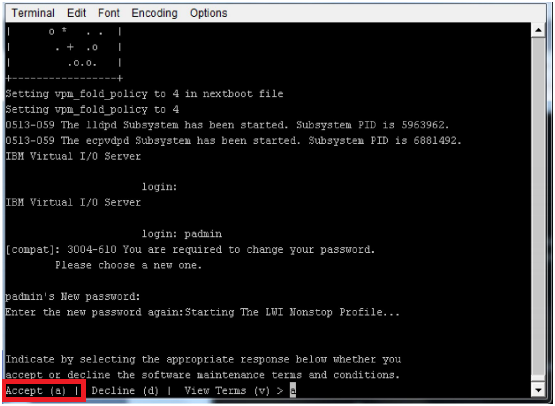
STEP 25 :- Once password updated and need to accept the license otherwise we cannot do anything
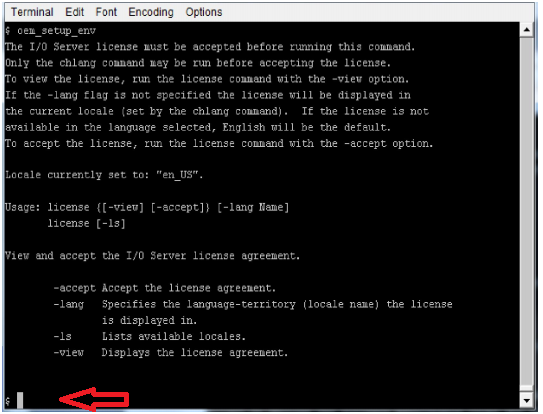
STEP 26:- oem_setup_env cannot be executed unless license –accept command entered
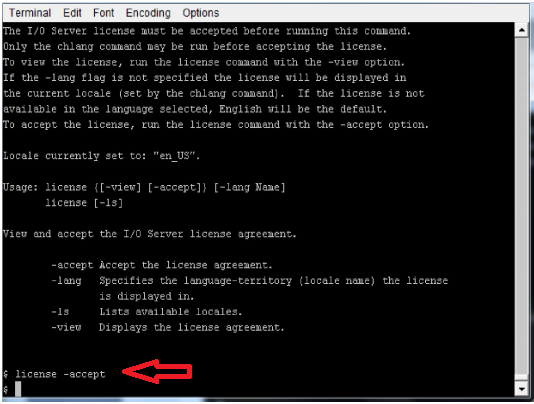
STEP 27:- Accept the license
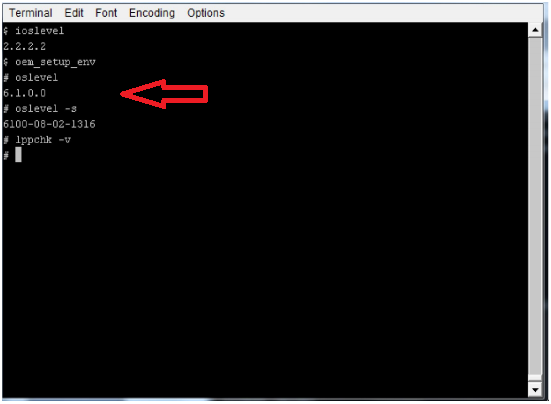
STEP 28:- Validate the installation is there any broken file sets , checklist commands of Installation verification.
Now Installation has been completed successfully now we can proceed the configuration. VIOSERVER configuration defers based on the plan.